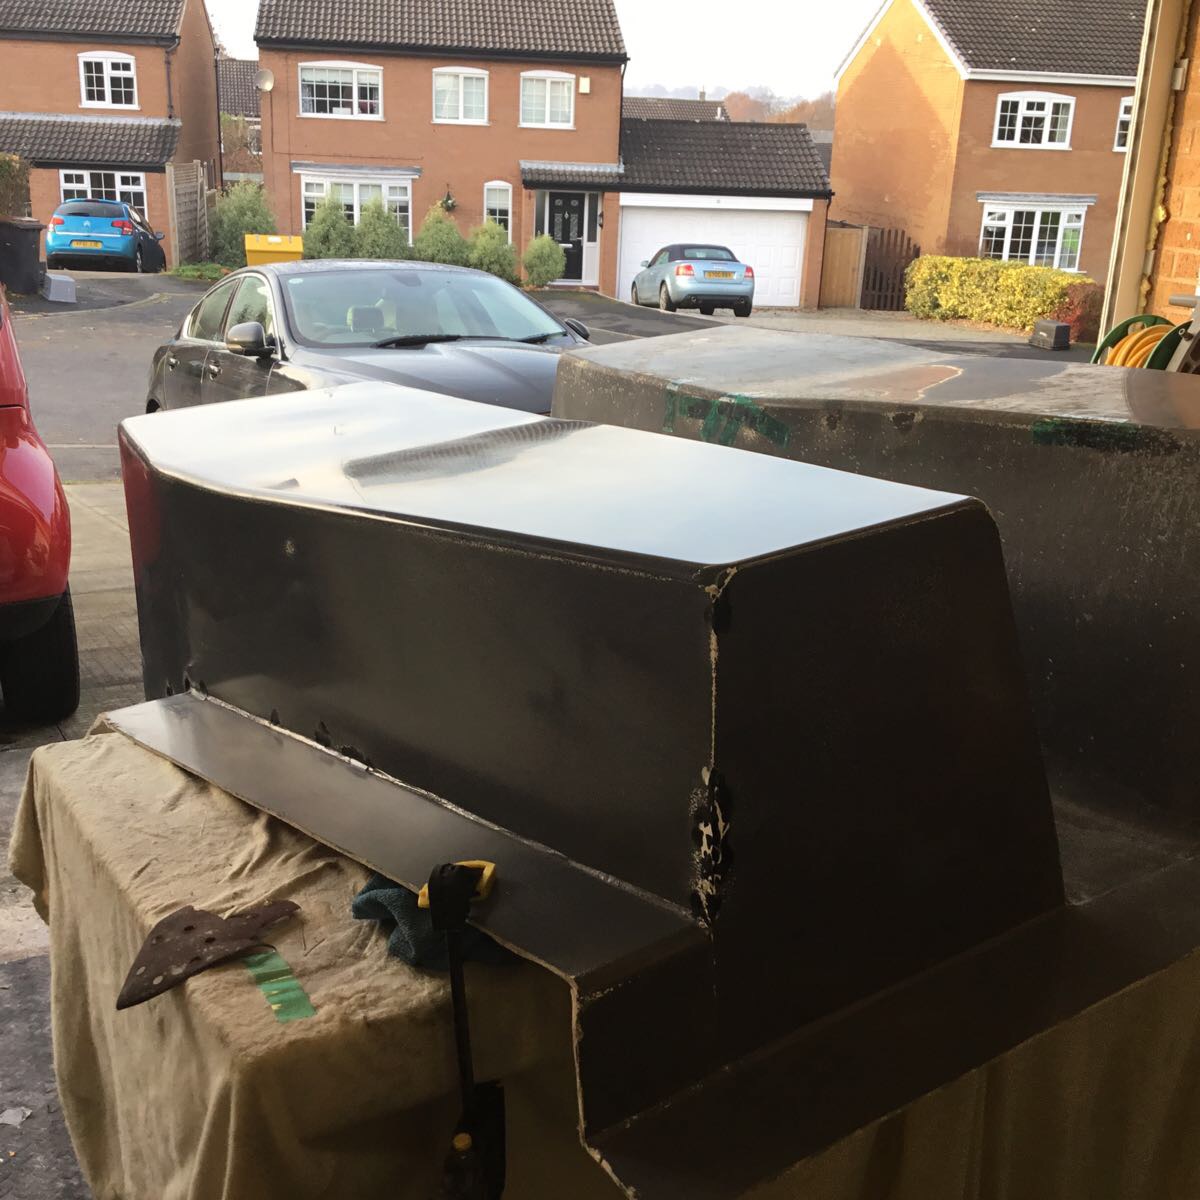
Using air to Demould, and Hard Points

So, I think my tub is going to be an interesting thing to demould – basically more than 4m2 of cloth and it’s nearly all sloped edges. I’ve heard of people using air to demould and I have an air wedge, but that only gets in from the top. I’ve even optimistically bought a couple. The other way to do this is to build a function into the mould or part to inject air.

So, the way is to somehow get a thread into the part for an air-line connector to make a seal good enough to take some pressure. One needs something that gets through to the mould/part interface, without anything so ungainly as drilling and tapping a thread for said airline connector.

Ideally, one builds it in to the part.

The technique is to stick the face of a nut to the mould, and then build the layers of cloth around it. In order to stop the resin infiltrating the nut, one should take a bolt, coat the threads in wax and put that in the nut. If you just put the bolt in, there’s a strong chance infusion resin will get down the threadsl. Then, when you demould, you turn the bolt, crack the thread and you have a way to get the air in.

In order to get the air in, you need to take something that matches the thread, drill it out and then weld it to a air-line fitting. So, you can connect it to your airline and force air in. The other thing you can do, rather than do this, is just turn a bolt in to apply physical force to push the part off the mould.

OR, you can make one feature do two parts.

So, my plan is to weld the nut to a plate, cross drill the plate with a bunch of holes, and embedd the plate in the stack – like a hard-point. I will replace the core with the actual plate, so I am putting in a 5mm thick plate (ouch for weight).

I will then use this as a harness anchor point. So, rather than adding a couple or air-release points that are convenient for the mould, I’ll be adding four either side. Two below for the crotch straps, and one either side of the thighs for the leg straps. needless to say I need to be quite accurate for my positioning, and I’ll probably have to use 7/16 UNF rather than M10 to stay with the standard larger size anchor points (rather than have to do lots of explaining to scrutinisers that may not understand what I’ve done). The other smart bit of advice Vic gave me was to double up the cloth over the anchor point, which makes a lot of sense.

Conclusion: reuse is best. Anchor points can become release points. Viva El Presedente.


How to repair mould gel-coat (lots of photos)

History
So, I’ve been doing the tidy-up on the mould before I infuse it, and I’ve had a bunch of problems with bubbles behind the gel-coat. These are down to a mistake I made whilst building the damn thing. One puts the gel coat on the mould, or it gets the hose again. Well, I put the gel coat into the mould (spraying), and let it set. Then you put a coupling coat of glass on the back. This is pretty thin (tissue) glass – 100gsm chopped strand. Or you do the wrong thing, and try a new product. I tried a coupling veil, which is like breather fabric. I found it was very very hard to wet out, and hard to make it stick to the gel. What’s more, I also started running out of resin. So, half way down the tub I stopped using it and went back to tissue. When you look at the mould now, you can many more bubbles on one side than the other where I swapped from veil back to tissue.

What I’ve found is that I’ve ended up with a lot of repairs to do to the mould. Here’s my technique – it may work for you.

Step 1 – Find out where the hole is

Once you’ve found it, dig it out with a screwdriver – be sure to probe around the edges – it’s quite surprising how far a run is from a simple small blob.


Step 2 – make it concave

One of the things I’ve worked out is that when getting the gel in the hole for the repair, you can’t get it into every pocket a the edge of the gel .If you’re digging out with a screwdriver you won’t get under every edge, and if you’re coming in down from the top with the screwdriver, you may not lever out the weak points as well where adhesion to material and gel isn’t perfect. So, what I do is put a grinding stone on the Dremmel and go around all the edges until the edge of the hole is convex. Then there’s two advantages – one: no overhanging void that the gel can’t get under and leave a small air pocket you’ll be repairing later; two: I’ve found that it occasionally chips out another void that wasn’t visible at all. It only takes a few seconds to do this. Of course kiddies – safety first. This kicks out a lot of dust and is prone to kicking up gel-flakes, so wear a mask and goggles. It’s also loud so i go for ear defenders. I look like the human fly.

Here it is, all dug out. It’s interesting that I found a lot more void when digging it out.


Step 3 – Apply the gel

Gel-coat is weird stuff, and doesn’t fully set in air – it needs a barrier or it remains tacky. There are two ways to do this – first is add a liquid wax solution to the gel coat (typically at 2%). As it sets, the wax migrates to the surface and forms an air-tight seal. It works if you are doing your repair as a one-off or is perfect if you’re spraying a repair. However, I think there are downsides to this for spot repairs:

  1. If you have to build up a repair, you will have to take off the top layer to get rid of the wax (mould cleaner disolves it away, but you’re using expensive chemicals).
  2. If you are building up a repair, it will leave a relatively smooth surface, so not much of a key
  3. The wax is dissolved in styrene (which should totally gas out though) and epoxy and styrene don’t get along well
  4. It is extra faff adding 2% wax to, say, 30g of gel-coat.

So what I do is make up the repair, and seal it with flash tape. It’s specifically designed for resins not to stick to it, as well as being stable at high temperatures. This works quite well for making deeper spot repairs, and the tape gives the gel-coat lots of support if I’m repairing a vertical surface. If you’re using wax, you have to build it up in multiple layers or else it will run. This method is faster (for me).

Step 4 – Flat it off


I don’t have a picture of the large wound I repaired half-way through, so I’m going with this one. If you run your fingers over the repaired gel, quite frequently you can feel it’s slightly proud. If you can feel it, you certainly will see it on a cosmetic part. Worse, if it’s half a millimetre proud or more, it may give you release issues as well. You can see around the repair that I’ve started to flat it off. I find a 120 grade paper on a small random orbital sander such as this Ryobi. It’s great because it also has a extensible pointy nose thing that gets into the corners. Like a wasps ovipositor. Kind of. Maybe. I just like saying ovipositor.
The white speckles you can see are where the gray top coat has been flatted back to the white undercoat. Once you start seeing white, you stop. The white line at the top of the repair is a slight highlight reflecting the light from the spotlight I’m using. It certainly shows there’s a lip there. What’s more, this was two holes so I knew to keep flitting back until I’d seen the two holes again. It takes about 10 mins and some patience to do it with the Ryobi.

I didn’t want to go any more coarse than 120 grit because I’d be digging deeply into the part. 120 makes good progress, but then flats off well. To flat the part, I used an 800 grit disk on a sander like this one which did it quickly and safely . No gouging. From 800 I went straight to 1500, then onto the polishing compounds.


Here’s the finished version of the holes above, or one similar. What you end up seeing is the original holes filled in. once they’re polished (800 -> 1200 -> 1500 polish ->2000 polish -> anti-swirl polish) the new black gel-coat comes out as shiny as the original.


So, here’s the final result, polished as well. You can even see the little loop in the picture in black where i accidentally scratched the gel coat with the Dremmel. it’s in the third photo from the top. This is a very solid repair and will take multiple pulls if necessary


Half Shiny tub mould

Here we have a view of half the tub mould. It’s been flatted, sanded and polished. It’s not a fantastic mirror shine, but it really is quite shiny. in the left hand picture you can see some black gel-coat where I’ve had to make a repair or two. You can also see some white where I’ve flatted back to the undercoat. Not a problem here.

I’ve learned loads from this half, and now when I get time I’ll do the other half. Ideally finished this week. I think there were 5 hours of work in each half to get to this finish. Flatting was done with a P800 paper attached to a dual action orbital sander. Once flatted (and I’ve got other pictures showing how it looks so you can see if you’re finished the flatting process) I then ran over it with a P1200 to start the polishing. Then with a industrial polishing thing, a P1500 cutting polish, P2000 cutting polish, and then high-gloss and swirl removing polish.

Next steps are to apply mould cleaner and mould sealer. Then 5 coats of release compound. Then … I can actually lay up and pull a part.

Aramid floor tray is in

Here’s the floor tray, all nicely bonded in.

IMG_3334Here’s the floor-tray all nicely bonded in. You can see on the right of the picture how the floor-tray now replaces the cross-member I removed. I put several extra layers in there as well to pass even more force forward (than the 6 layers of 300gsm that’s already in there).

There’s also extra reinforcement, like a lardy-blokes truss, to take engine mounts if I decide to do that.

So Mark – tell us how you did it

IMG_3316 2


Here’s the part as it came out of the mould – all sharp edges and over-sized. Next job was to put it on the car – mark it up and trim it. That’s the boring bit and I don’t have any photos to document.


IMG_3324This is the chassis before the part is bonded to it. It had been blasted before powder coating, and I used the right high-temp non residue leaving breaker-tape to mask off the mating areas. The blasting heaves a fantastic key. I was worried originally that the tape wouldn’t make a brilliant barrier to rust after coating but it’s worked out fine. The reason being, the coating forms a seal against the tape so there’s nothing to get in – no air or moisture so no rust.

I marked the part up after clamping it down, and drilled for rivets. The rivets were just soft-ally headed ones to provide clamping force rather than to be anything structural.


IMG_3319


Here I am as Clampy-McClamp-Face. I had every surface clamped before I drilled rivet-holes. If you drill-rivet as you go along the part, it starts to creep and your holes don’t line up. Clamping the entire thing before drilling keeps the accuracy.


IMG_3325Here’s a close-up of the rivet holes – I’m pretty pleased with how accurately the holes line up. Structurally it’s not really important, but attention to detail matters.


img_3327

One post-trimming, bonded, riveted part in place. I used an epoxy two-part adhesive. It’s the slightly flexible stuff for parts under a lot of vibration.

Once the adhesive set (24 hours for full cure at 20C) it feels rock-solid.


Air in a composite, under the microscope

So, a while back, I was making a trial part for the tub to understand how much resin a 12 layer infusion would take with a 10mm core. I cocked that up, but since then, I’ve also done an excellent infusion for my floor pan, and I wanted to compare the differences in them both for you under the microscope, because I’m that amazing, informative guy.

Pants Infusion – With Lots of Air in

bubblesIn doing the infusion, I inadvertently admitted some air into the infusion, and it ran over the part. Also, I capped the infusion off once complete rather than letting the pump run for ages to try and pull the air out. Now I know better and know it should be under vacuum until it gels off.

So, what you can see here is a scale at 0.1mm per subdividing line. Ignore the 5mm bit. So, these bubbles are anything between 0.1 and 0.5mm wide. Wherever there’s a bubble, there’s a weakness. To the naked eye, they just look like a very fine dot.

Good Infusion, Where I Got It Right

So, this yellow bitch is going on the car. I had infused the resin at 28 degrees, with the mould also at about 30 degrees. I used a brewing mat under the resin to warm it.

no bubble

This time, you can see no air bubbles, and the weave is easy to see. It’s at the same magnification as the part above, but it’s at a different weave. This is 300gsm twill weave (rather than 2/2 twill) but has less threads per twill than above – more tightly woven if you like. I also let the pump run all night to ensure absolutely no spare resin remained in the part. I also have a new technique to ensure there isn’t any air in the original input pipe, when it’s submerged in the epoxy.

Now, I’ve Keyed it!

keying

In laying up the part, I put some strategically placed 1″ strips of peel-ply in where the chassis rails will be when it’s bonded in. Epoxy doesn’t stick to it peel-ply. When I took the part out and tore off the peel ply, I ended up with a nice keyed surface for the adhesive to the chassis. You can see it here. The crappy red fibers are just bits of the peel-ply I can’t get off. It’s incredibly thin nylon but the red threads are only at the edges. I don’t think they will (at all) compromise the quality of the adhesion.


Resin to cloth ratio by weight

IMG_2088.JPGIMG_2087.JPGSo, here are the two sample pieces, as mentioned previously in this post. They’re rough and ready, and not pretty to look at. What’s more, I had an infusion issue so there’s more air in the part than I would want.

However, it’s worth looking at the following dry weight calculations:

Part Final Weight Dry Weight Diff % Resin
with Veil [1] 136 103 33 24.26%
No Veil 144 110 34 23.61%

So, the lesson is that the part absorbed about 24% resin, excluding that retained in the infusion mesh, pipework, etc. It is also very important to note that the 10mm core is cross-drilled every square inch with a 2mm hole and has resin channels scored in the underside to allow rising to flow over the other side of the core. this will have absorbed some resin as well, which won’t be there if a core isn’t used.

Next post, I’ll get these under the microscope and you can see what the bubbles look like. If I can find a text-book infusion part then I’ll compare against that to see what gets left behind when the job’s done properly.

[1]The veil part is an experiment I ran with a piece of polyester veil under the facing layer to see if it acted as an air-removal medium to make the facing layer more cosmetically pleasing. Due to me cocking up and getting air in the infusion, I have no idea if it would have worked. It certainly didn’t work for me as a backing layer (as advertised). it absorbed far too much resin, was a pig to wet out and didn’t easily go into corners, leaving bubbles behind the gel-coat which have to be repaired.

How much will my tub weigh?

So, based on the sketch I made on the white board (below), I need to calculate just how heavy the tub will be. The main reason I need to calculate this is to be sure the 19kg I’ve taken out by chopping out all that steel and removing the ally panels isn’t then replaced by even more carbon.


IMG_1007.JPG


Method

I made a trial part, consisting of:

  • 4 * 600gsm carbon (2 above the core, 2 below)
  • 2 * 200gsm e-glass (1 above the core, one below)
  • 1 * 300 gsm aramid (on the bottom, facing the tarmac)
  • 1 * 300 gsm carbon (on the top, to look pretty)
  • 1 * 10mm thick closed cell foam for the core (in the middle)

The layup is symmetrical around the core, apart from the aramid on the bottom and the facing carbon on the top. I have discounted the weight of clear gel-coat applied to the finished part (assume 1kg at the end).

The part measured approximately 103mm * 204mm, and weighed 130g. This meant a unit weight of 0.006 g/mm2.

From this, I fed the dimensions of the panels above into my CAD package. Given a surface extruded to 1mm depth, it will tell me the mass of the panel, to a bazillion decimal places.

Conclusion

Part count Unit Weight Total Weight Running Total
Tunnel Side 2 2.37 4.74 4.74
Tunnel Top 1 1.16 1.16 5.9
Back 2 1.0375 2.075 7.975
Base 2 2.7 5.4 13.375

So, if I go for this, the new tub will weigh 6 kg less than the original steel work.

Assumptions

  • 10mm closed cell foam is used uniformly. This won’t be the case – the sides do not need a 10m core – I will probably go for a 3mm core.
  • the base, back and top of the tunnel need to be strong in bending load, the sides need to be strong in lateral load. As such, I can use a thinner (or even no core) for the sides. I think I will save 1kg there.